Quick Tips
- Here's what you need to clean a chalkboard:
- Prepare to clean the chalkboard.
- Mix your cleaning solution.
- Apply the solution to your chalkboard.
- Take your squeegee and clean the chalkboard.
- And last but not least, use a dry portion of your cloth to sop up the river that will have developed at the far right of the board.
For many years, staying after class to clean the chalkboard or clap erasers was considered the single worst punishment a student could suffer. When I was a kid it was simply something you did. I wasn’t a troublemaker. I was the quiet kid in the front row who tried not to make waves. My peers thought I was a nerd, but my teachers thought I was wonderful. I was just trying to survive long enough to get out of high school and into college where I would partake of wine, women, and waffles.
I stayed after class because I had a hard time relating to my peers and an easier time relating to my teachers. I stayed because they asked me to. Until I met Ms. Linden. I was thirteen and she was twenty-two, just out of school—the token “hot teacher.” When she asked for someone to stay after school, every male whose personal orientation directed him that way volunteered. And she picked me. She taught me the single greatest lesson in all the world—one that I’m not going to share with you. She also taught me the best way to clean chalkboards—a lesson I will share. So here it is: Ms. Linden’s method for cleaning chalkboards.
Steps to Cleaning a Chalkboard
 Here’s what you need to clean a chalkboard: a bucket, warm water, white vinegar, a squeegee, a chalkboard eraser, and a soft cloth. It’s important to make sure that your bucket is clean and free of any contaminants. In this case, harsh chemical cleaner residue is considered a contaminate. So if your bucket isn’t brand spankin’ new, be sure to rinse it out thoroughly before proceeding. Harsh cleaners can damage your chalkboard, so don’t use them. Also, some websites will tell you to use ammonia-based cleaners (such as Windex) to clean your chalkboard. It’s important that you do not. Ammonia is harsh and, frankly, dangerous to use, and it will slowly destroy your chalkboard.
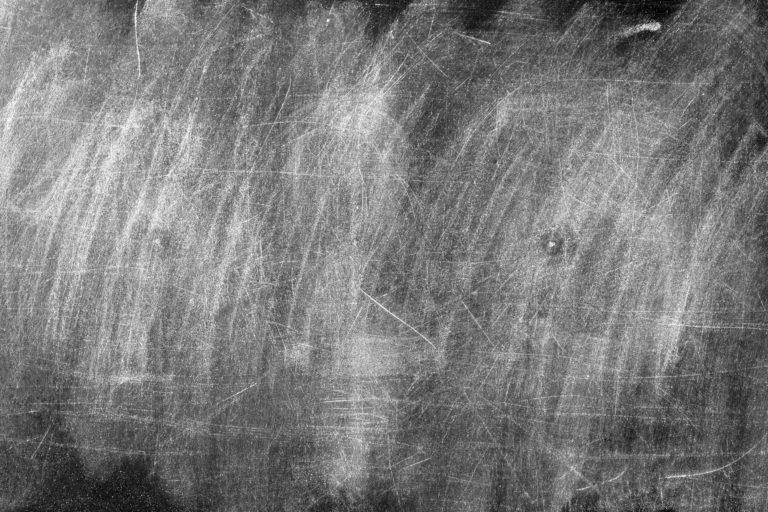
 Prepare to clean the chalkboard. Take your chalkboard eraser and get as much chalk off the board as possible. Be sure to use long, consistent strokes, starting at the top corner and working your way all the way across the board. Using short, repetitive strokes will only reapply the chalk dust in the eraser to the board—something you are specifically trying to avoid.
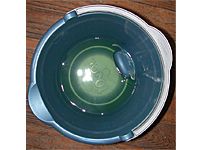 Mix your cleaning solution. Fill the bucket with warm water. Be advised that I’m assuming you are using a gallon bucket. If you are using larger one, be sure only to fill in one gallon’s worth of warm water. Add half a cup of white vinegar to the water and mix well. Some sources say that vinegar is not necessary, which is somewhat true. But for the best clean, be sure to add it.
 Apply the solution to your chalkboard. Dip your cloth into the solution and apply directly to the chalkboard. Once again, use long, consistent strokes either side-to-side or up-to-down. Do NOT go back and forth AND up and down, as this will be counterproductive. When you have completely covered the chalkboard with the solution move onto the next step.
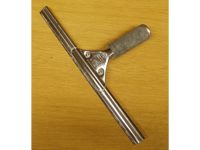
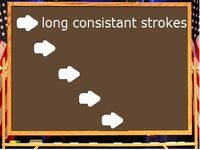 Take your squeegee and clean the chalkboard. Starting at the top left corner, drag your squeegee firmly across the surface of the board all the way to the right. Then, starting at the left, do so again only lower than before. Repeat until you have squeegeed the entire board (that’s right, squeegee is a verb now). If you have a large chalkboard, sing the squeegee song while you work (if you don’t know the squeegee song, make one up. Chances are it’s better than the real thing.). If not, move on to the next step.
 And last but not least, use a dry portion of your cloth to sop up the river that will have developed at the far right of the board. Let your board dry before using it again. Chalk used on a wet board will dry and set making it nearly impossible to erase without cleaning it again. Repeat the previous steps as needed. You really shouldn’t have to do so more than once or twice.
How to Keep Selected Writing on an Oft-erased Chalkboard
My elementary music teacher used to do this. Let’s assume that you are a teacher or someone else who uses the chalkboard a lot. In certain settings, you may need to use the same piece of information (such as a math problem or a musical notation) on the board class after class. Due to the nature of the information, you may need to add to it or expound upon it by writing over, around, and through it. You then have to erase this piece of information at the end of each class and rewrite it. Here’s an easy way out:
Follow the steps I’ve listed above, but instead of letting the board dry, write the information you need in chalk on the wet board. THEN let the board dry. You can write over, on, or around this information and erase to your heart’s content without it smudging, smearing, or disappearing. Then, at the end of the day when you’re done with the information, simply clean the chalkboard again. It’s pretty awesome.
Natural Products to Clean a Chalkboard
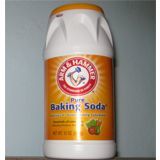 Baking soda.Baking soda is a good alternative to straight vinegar, and it is especially good at removing crayon from chalkboards. Make a paste of baking soda and water and apply to the chalkboard with a soft, dampened cloth. Focus on fiercely Crayola-ed areas and scrub diligently—the baking soda will take that crayon right off.
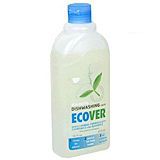 Ecover Dishwashing Liquid. Ecover is a fan favorite and makes a mean liquid dishwashing soap. All natural, gentle enough to use without gloves, and a powerful cleanser, this will clean the heck out your dishes as well as any foolish chalkboard that dares to challenge your superiority.
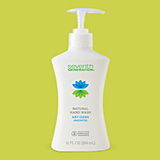 Seventh Generation Natural Hand Wash. Another suggestion for you in terms of soap and water. This hand wash is all natural, safe to use on your chalkboard without staining or leaving unfortunate residue, and will work on those stubborn spots. You can order Seventh Generation in a variety of scents from Amazon.