Quick Tips
- Start with plain soap and water.
- Prepare your equipment.
- Stir baking soda into the water in the pan.
- Add tarnished silver.
- Use tongs to move the silver pieces around in the pan.
- I was thrilled with the results.
I’m not a huge fan of yellow gold. Also, I’m not rich. But I do like jewelry. So under these conditions, what’s not to like about sterling silver? Well, one thing I can think of: tarnish. Tarnish is the dull gray or black coating that forms on the surface of silver, the result of a chemical reaction between the silver and sulfur. Its scientific name is silver sulfide, but most non-experts just call it ugly.
The happy news for your favorite jewelry is that it’s rare to see tarnish on a piece of silver that is worn often, because frequent contact with skin can prevent tarnish from forming. But table silver or jewelry that is brought out only on special occasions is notorious for being tarnished whenever you want it, especially if it’s been stored in or around materials like felt, wool, or rubber bands. Humidity can also accelerate the formation of tarnish. Fortunately, tarnish often comes off of silver almost as readily as it forms. One of the easiest and most eco-friendly methods for removing tarnish also doubles as a science experiment.
Steps to Cleaning Tarnished Silver
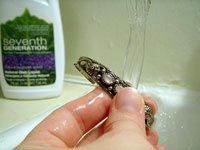 Start with plain soap and water. The first thing to do is to wash your silverware or silver jewelry with soap and water to remove any dust or oils from the surface. You’ll be removing the tarnish by way of a mild chemical reaction, and want to wash away anything that might block the tarnish from reacting.
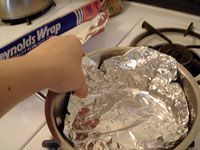 Prepare your equipment. The next step is to line a pan with aluminum foil and add enough water to completely cover the piece of silver you want to clean. I used a relatively small pan because I was cleaning jewelry, but this method works just as well for bigger pieces like platters or kettles, as long as you have a large pot that will hold enough water to entirely submerge the piece.
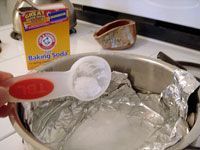 Stir baking soda into the water in the pan. A couple of tablespoons will suffice for small items in a small pan, but you may need as much as a cup or two for large items in a gallon or more of water. As the baking soda dissolves, turn on the burner underneath the pan and let the water come to a boil.
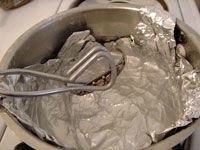 Add tarnished silver. As soon as the water starts to boil, you can remove the pan from the heat and submerge the silver in the hot water. Make sure the silver is in direct contact with the aluminum foil. The whole process can take several minutes, but it shouldn’t be long before you start to see tiny yellow or black flakes in the water, or notice that the aluminum foil is turning black. What’s happening is that the hot solution of baking soda and water is separating the sulfur from the silver and transferring it to the aluminum. This easy homemade tarnish remover takes advantage of the fact that sulfur is more chemically attracted to aluminum than silver.
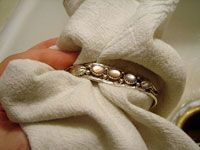 Use tongs to move the silver pieces around in the pan.You can even take it out of the solution briefly to get a better look at your progress. Just be gentle and avoid scratching the silver. Once the silver is clean, you should rinse it in clean water to remove any traces of baking soda, then dry it with a soft clean cloth. You may find that you can take off even more tarnish by rubbing at any remaining dark spots with the cloth.
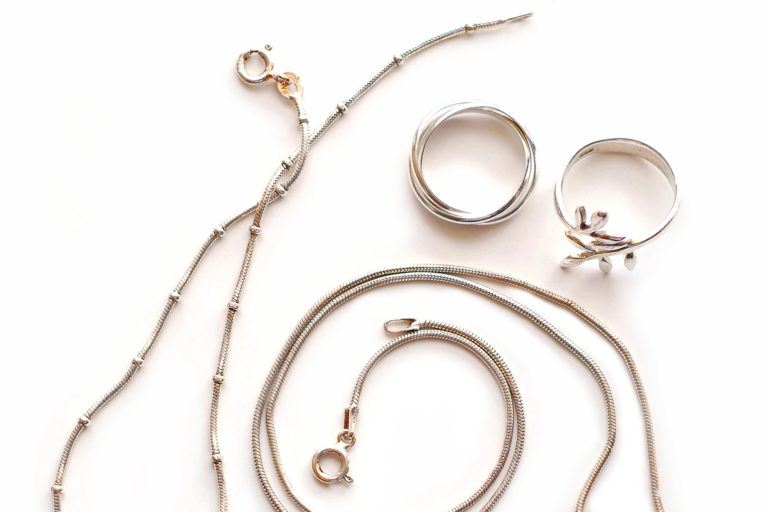
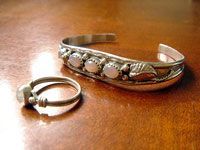 I was thrilled with the results. If your silver is severely tarnished, you may have to repeat the process several times, or you might have better luck with a natural tarnish cleaner from the list in the right sidebar. My silver bracelet and ring were moderately tarnished, but this simple homemade silver cleaner made them shiny again.
Toxic Silver Cleaning Products
Do you have any idea how hard it is to find out what’s actually in silver polish? Companies that manufacture silver polish rarely list their products’ active ingredients on their websites or even on package labels. But I’ve managed at least to find out that most silver polish isn’t very safe for people or the environment. In fact, the Environmental Protection Agency lists it as Hazardous Household Waste and discourages throwing it out with the regular trash. I won’t fling mud at the silver polish industry by listing every toxic substance that may or may not be present in tarnish remover, but it’s safe to say that it often contains strong acids; ammonia, which can irritate the lungs; and petroleum distillates, which can cause nerve damage. Most brands recommend that you wear rubber gloves during use, even though rubber and latex promote silver tarnish. And since safe and natural silver cleaners are so easy to come by, why take the risk?
Natural Silver Polishes
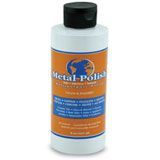 Homewood Metal Polish is one of the few silver polishes whose ingredients can be found online. And guess what? They’re entirely natural and mostly plant-based. You can order bottles of Metal Polish from Amazon.
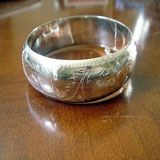 Baking soda figures into one other method to remove tarnish: pour some into a bowl and add enough water to make a thick paste. Using a soft cloth, scrub the silver free of tarnish with the baking soda paste. Most silversmiths, jewelers, and collectors discourage this method because baking soda is abrasive and can leave tiny scratches on the surface of silver. But if you have a piece that’s heavily tarnished and doesn’t have a lot of monetary or sentimental value, this is a good option. I used it on the bracelet pictured above.
 Toothpaste can be used in the same way as baking soda paste. I recommend all-natural Tom’s of Maine. Just make sure to use a white variety, because a gel won’t do the trick.
 Sur La Table‘s cleaning solutions are nontoxic and biodegradable, making their Silver Polish yet another good green tarnish removal option